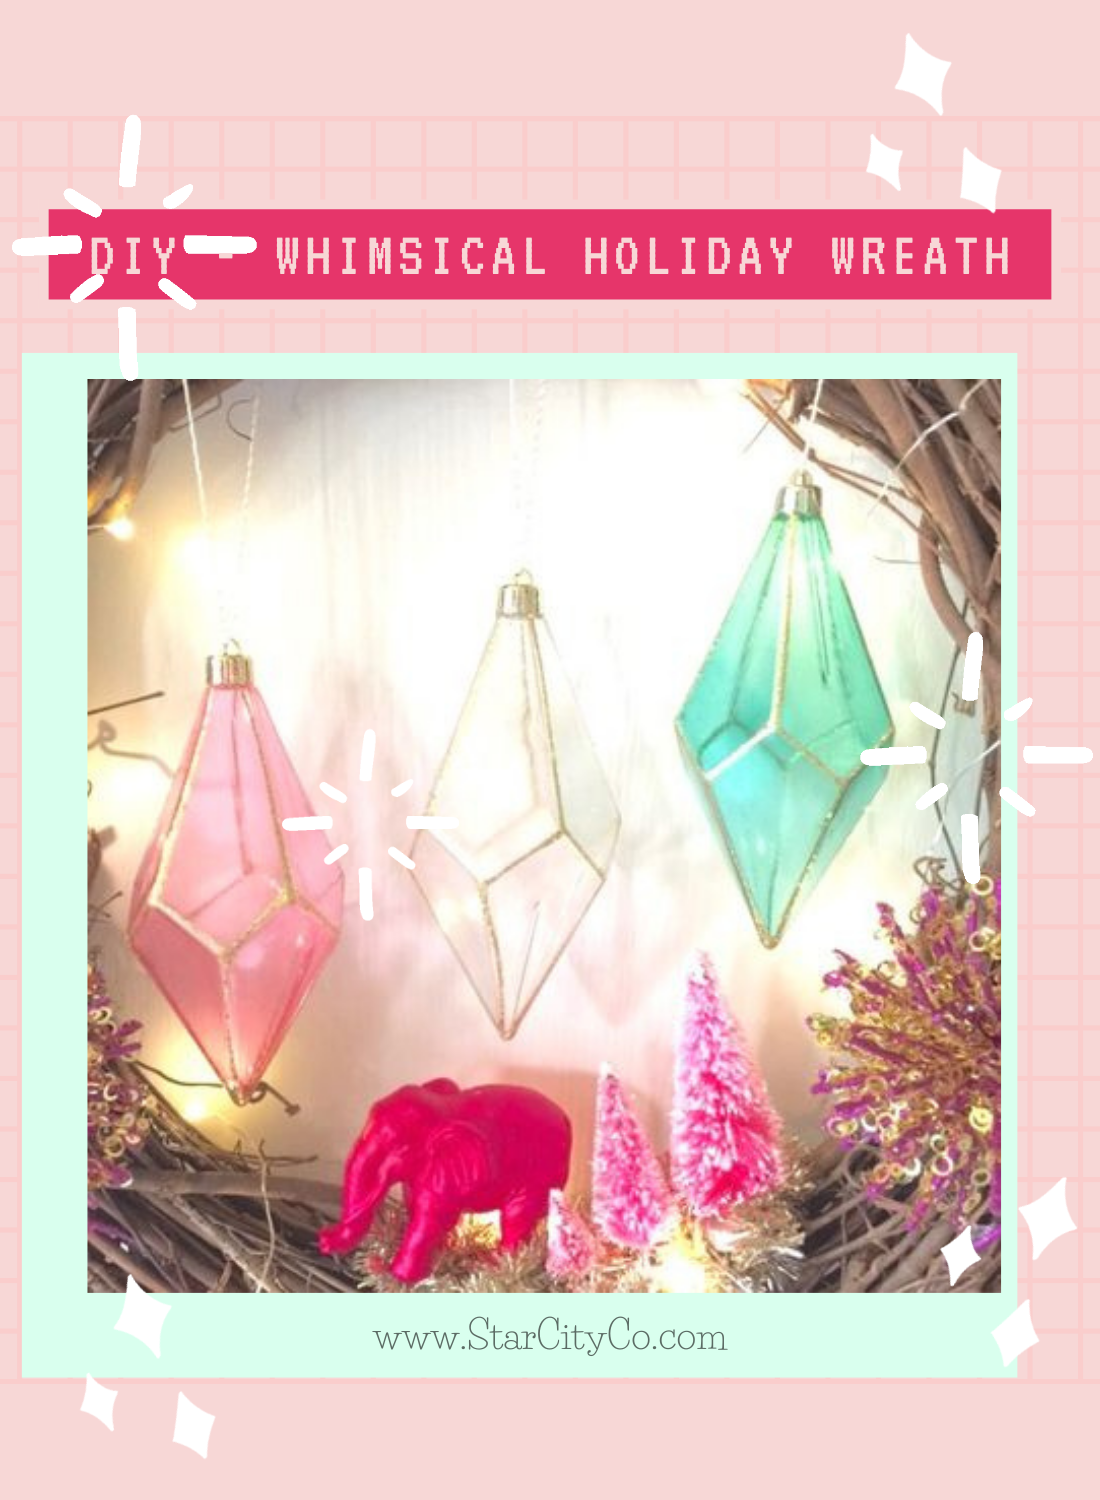
Making wreaths is such a fun activity to get ya in the holiday spirit (no matter what holiday it is)! When I saw this elephant, the gold glittery feathers and those gems, I just knew I had to do something whimsical with them. I had another fun blog back in the day and one of my most popular posts was a Spooky Halloween Wreath Tutorial, so I thought 'why not share with you, how easy this wreath is to make!?!' If you'd like to learn how to make this...
...then grab your coffee and stick around for a few minutes to check out this DIY!
{Some of the links in this post are affiliate links. Learn more on my disclosure page.}
First, I collected my supplies. Most everything here came from Michael's or Target.
- grapevine wreath
- elephant ornament
- feather ornaments
- gem ornaments
- little pink sisal trees (you can get some really great ones on Etsy, but craft stores like Hobby Lobby and Michaels have them too)
- pink and gold holiday picks
- snow glitter (I made a mix of course and chunky snow glitter)
- fairy lights
- gold tinsel (you can get this on Etsy or any store with Christmas decor)
- hot glue gun and sticks
- white glue
- scissors
- bakers twine or some sort of string to hang the gems
Then, I played around a bit to find out how I wanted to place them on my wreath. It's a good idea to get it all set up before you start hot gluing things on.
*Tip: take a picture so you don't forget where something goes, since hot glue dries fast.
To make the sisal trees a little more whimsical, I brushed them with white glue and sprinkled one of my special glitter mixes on it to make them look snow covered. Martha Stewart actually has a 'snow glitter,' but this one is also good! Shake your excess glitter off over a file folder or folded paper, so you can get it back into the jar easily. Don't want to waste that precious glitter!! ;)
Hot glue the back of your feather ornaments and put them on where you'd like them...
I held them for a few seconds so it would harden in place...
Oooh la la, look at that pink glitter and gold sequins...
The picks have sticks on them, so I just hot glue the stick and stuck it through the grapevine wreath where I wanted them...
I felt like the wreath itself needed a little bling but I didn't want anything big to take away from the pieces I was already putting on it, so I pulled some of the gold embellishments off the pink glitter picks and hot glued them here and there (be careful not to glue your finger to the wreath like I did, lol).
I hot glued some tinsel onto the bottom of the wreath, just to give the elephant and sisal trees a little cushion...
Then hot glue on your elephant...
...and your sisal trees...
Again, make sure you hold them right where you want them for a 5 or 10 seconds, so the hot glue can harden it in place...
Next, you'll hang your gem ornaments! I love these. I used a fancy baker's twine to hang mine at different lengths...
I played around with it a bit, because after putting them on the way I envisioned, I decided to change it...
After all of those simple steps, I thought I was done, but I felt like it still needed a little something. I luckily had an extra set of battery operated fairy lights that I wrapped around the wreath and I just taped the battery box to the back.
Here are a few close ups with the fairy lights on...
I just love how whimsical this is! I know elephants and gems and feathers don't really 'go together,' but make up your own rules on this ;)
I felt it was too fragile to put on the front door, so it's on the inside, which worked out perfectly because it's right outside of my studio and I get to stare at it. :)
I hope this helps you get some inspiration to make a fun wreath of your own. Of course, you can choose whatever ornaments that YOU like and change it up! This would make a great Christmas or holiday gift too. If you make a wreath, send me a picture...I'd love to see what you come up with.
Hope y'all have a very Merry Christmas & Happy Holidays!!

